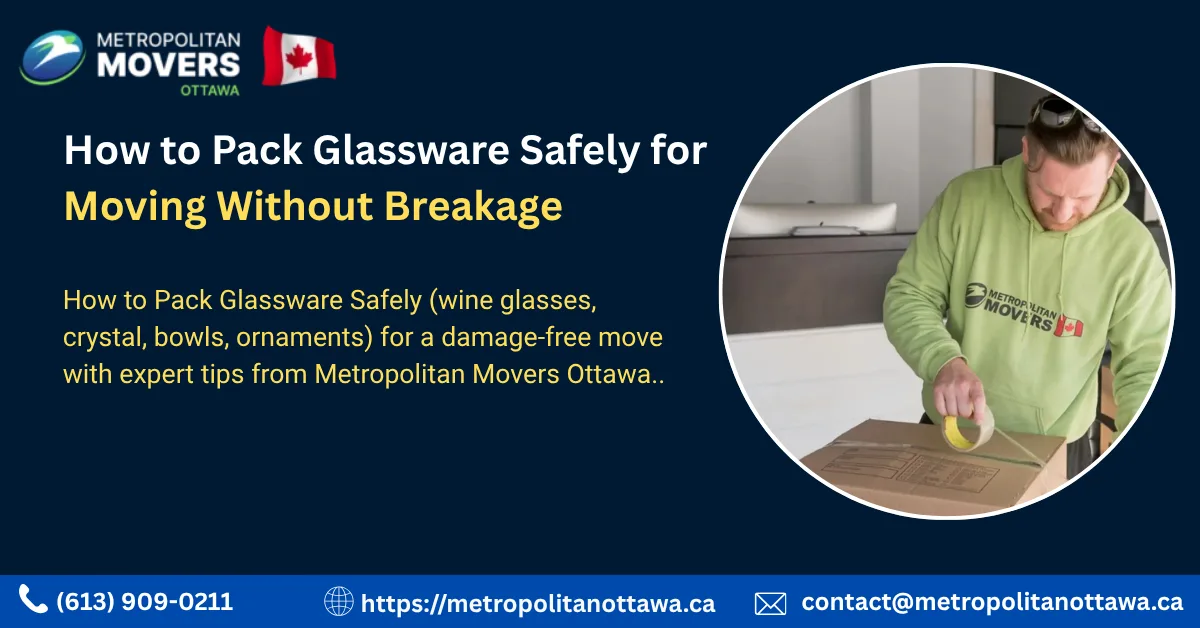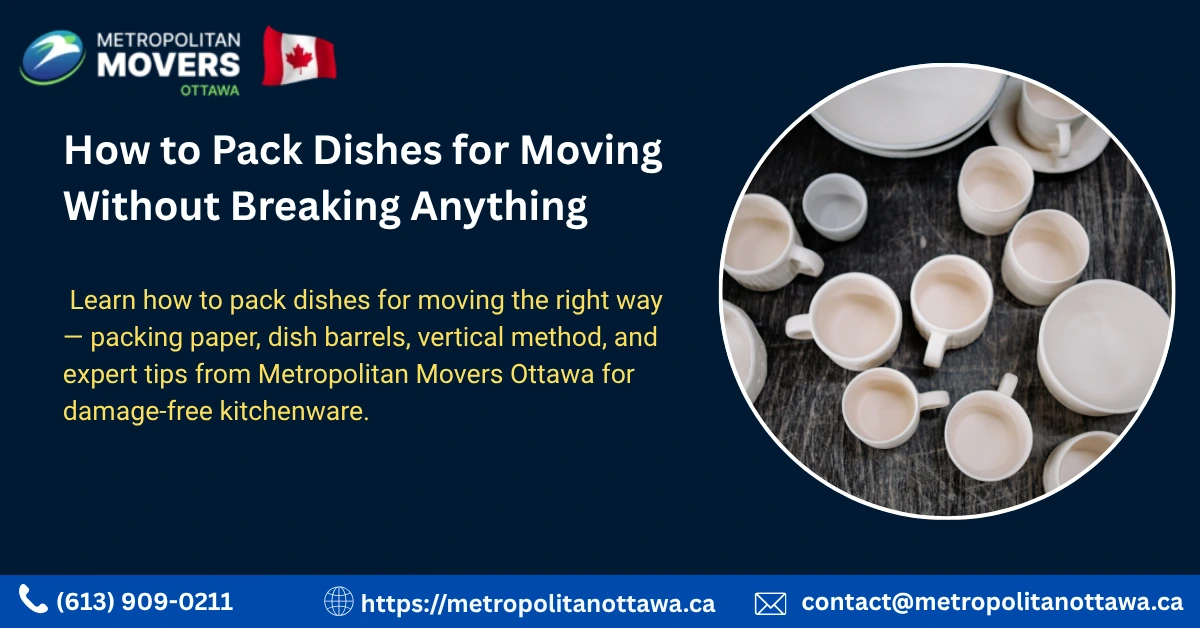
The kitchen is where most moving damage happens — and within the kitchen, dishes are the most common casualties. Plates crack, bowls chip, serving pieces that survived decades of daily use arrive at the new home in fragments. Knowing how to pack dishes for moving correctly is one of the most valuable practical skills anyone can develop before moving day arrives. The difference between a box of intact dinnerware and a box of broken memories comes down entirely to materials, technique, and the willingness to invest the time that proper packing requires. This guide covers everything from selecting the right box to mastering the vertical packing method to labeling for safe handling — so every plate, bowl, and serving piece arrives exactly as it left. For the broader framework of packing an entire household, the complete packing guide for moving is the most comprehensive resource available for Ottawa residents preparing for a full relocation.
Why Dishes Break During Moves and How to Prevent Every Common Failure
Before touching a single plate, understanding why dishes break during transit helps focus your packing effort on the failure points that actually matter. Most dish damage is entirely preventable — it results from specific, identifiable packing errors that are repeated by first-time movers who have never been taught the correct approach.
The three primary causes of dish breakage during moves are:
- Flat stacking under weight — plates packed horizontally with other plates stacked on top concentrate compressive force on the bottom plates, which are not designed to bear weight across their faces
- Insufficient cushioning between items — dishes that touch each other through thin paper gradually wear through the wrap during vibration until ceramic meets ceramic
- Void space inside boxes — boxes with unfilled gaps allow dishes to shift, slide, and collide with every road bump and turn, creating impact damage that proper cushioning would have absorbed
Every decision made when packing dishes should target these three failure points specifically. For a comprehensive overview of packing supplies you need for a full kitchen pack, that guide covers materials for every category of item in your home.
Essential Packing Materials for Dishes: What You Actually Need
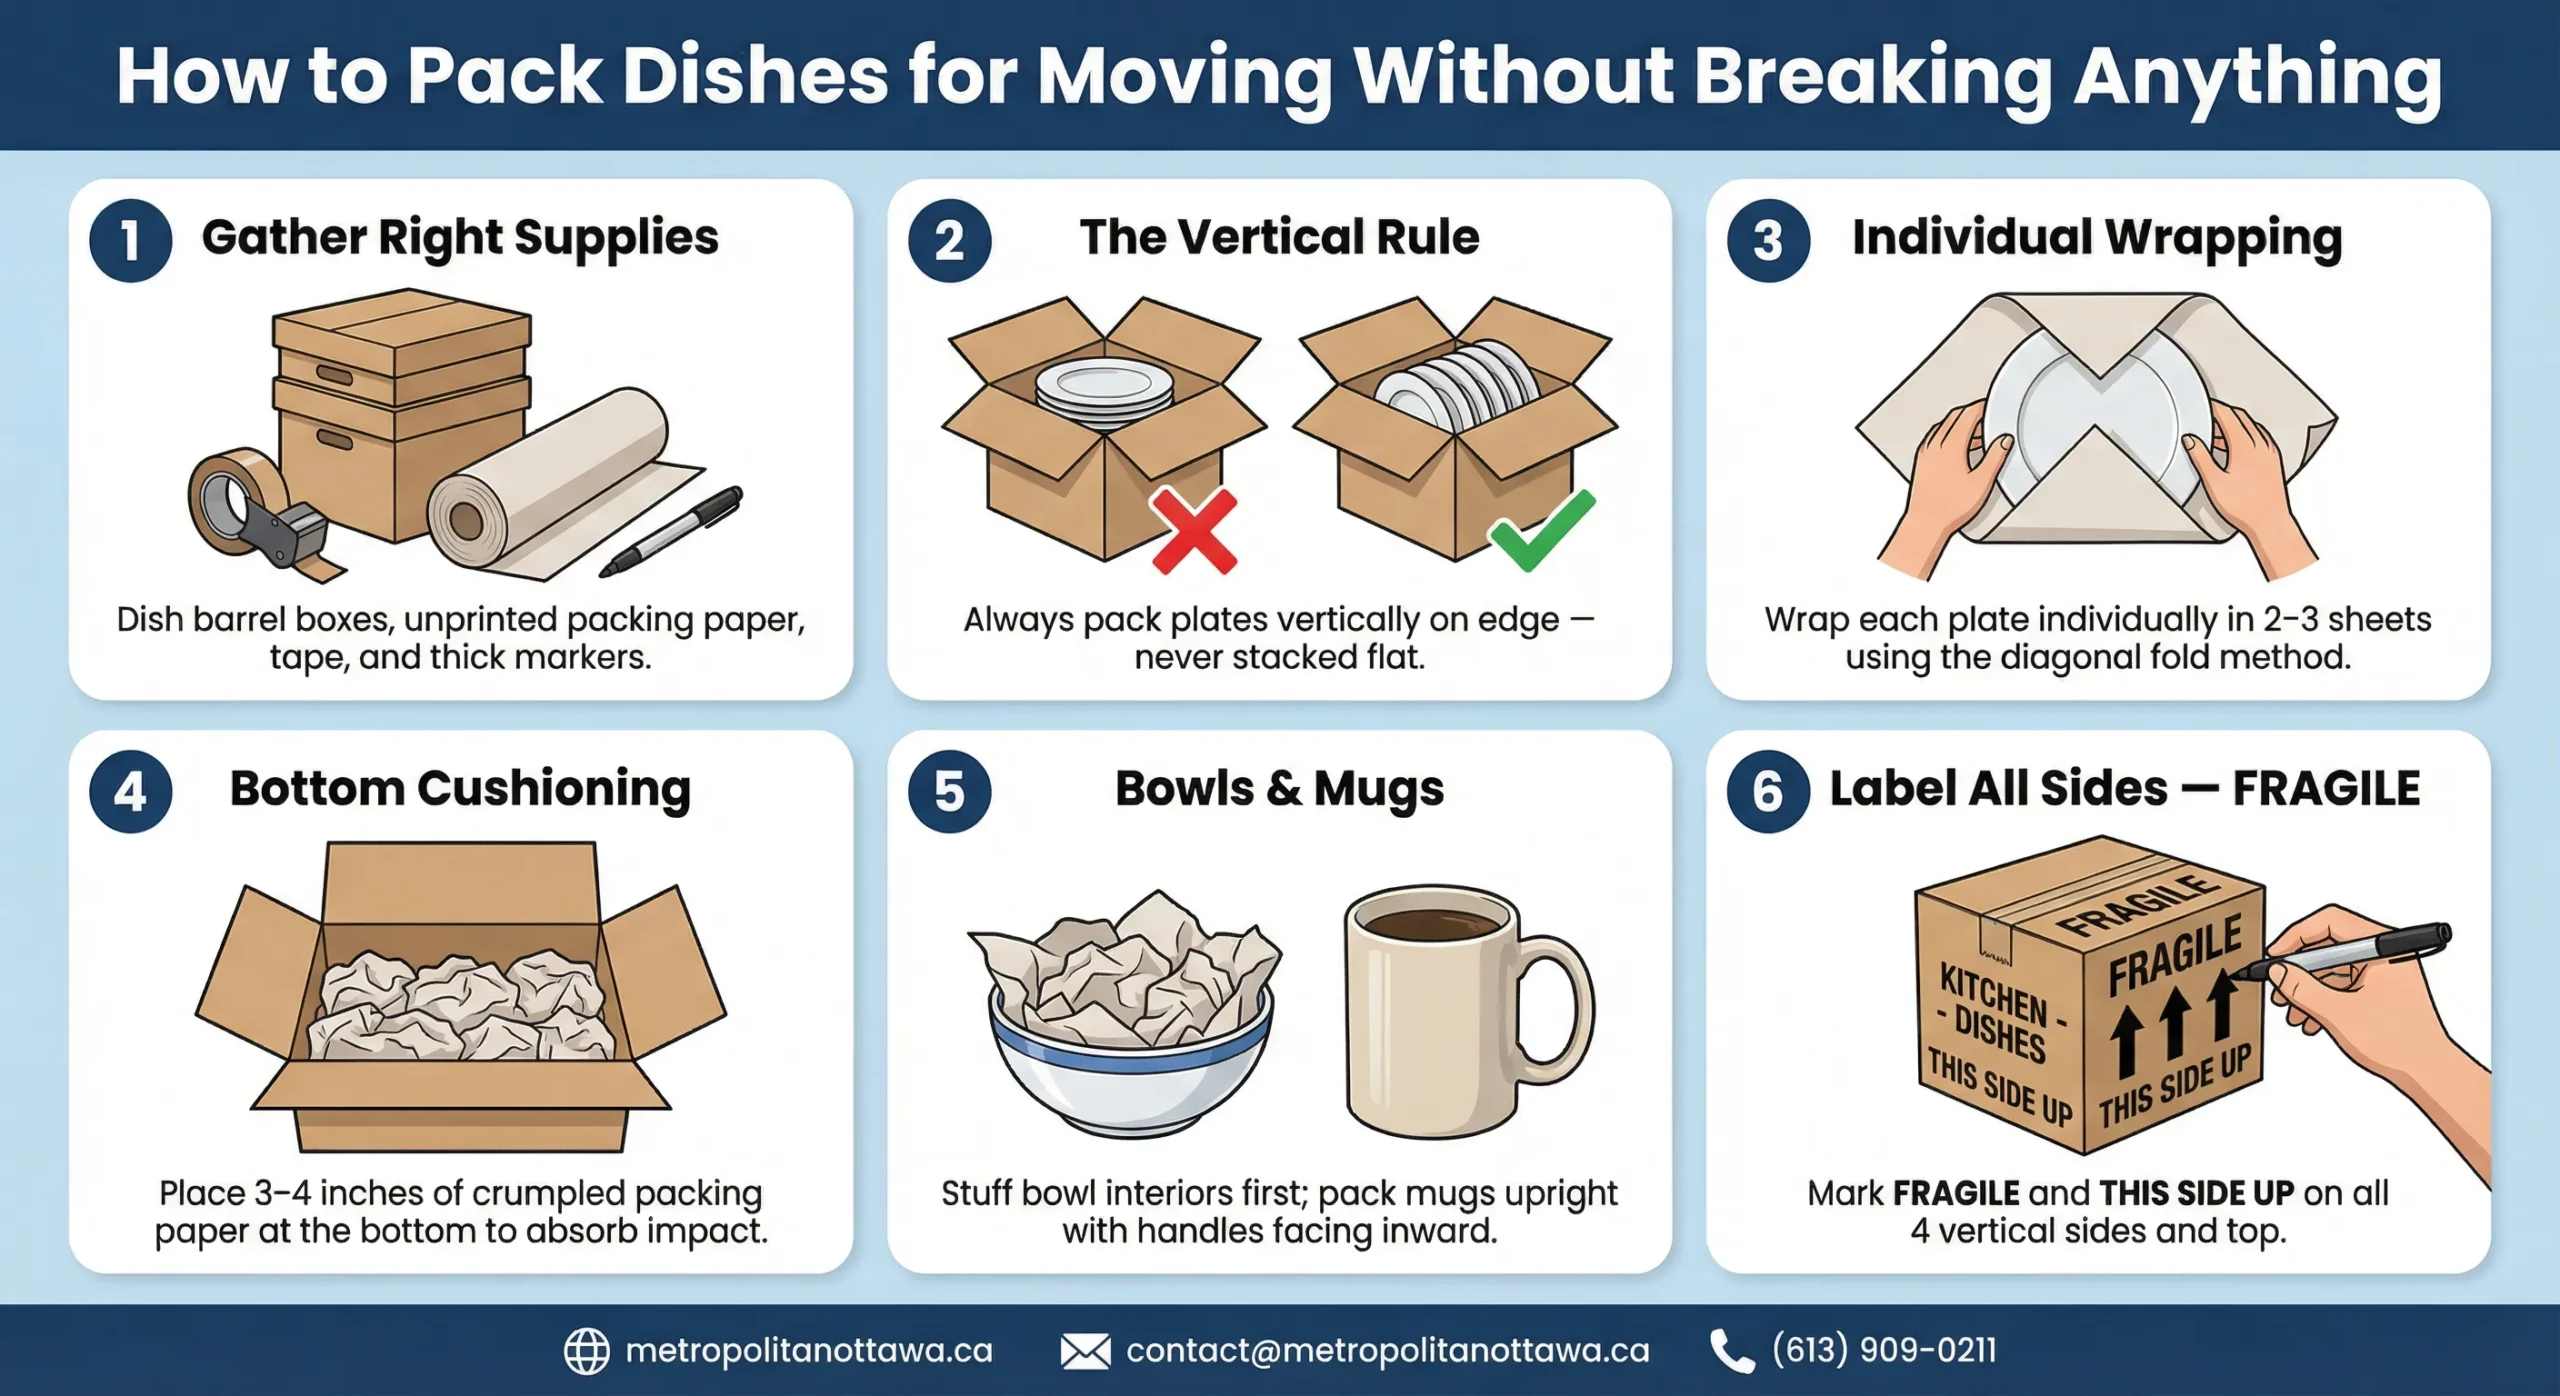
Attempting to pack dishes with improvised or inadequate materials is one of the most common and costly mistakes made by first-time movers. Having the correct supplies assembled before packing begins eliminates improvisation and sets the standard for every box you pack.
Packing paper — unprinted newsprint or kraft paper is the foundation of every properly packed dish. Unlike newspaper, packing paper leaves no ink transfer on ceramic surfaces, making it safe for fine china, white dinnerware, and glazed pieces. Purchase significantly more than you think you need — running short mid-pack leads to dangerous shortcuts.
Dish barrel boxes (dish packs) — these double-walled corrugated cartons feature thicker walls specifically engineered to absorb impact during transit. Standard moving boxes are single-walled and provide inadequate protection for heavy, fragile kitchen contents. The modest additional cost of dish barrel boxes is the most cost-effective damage prevention investment available in the entire packing process.
Bubble wrap — secondary protection layer for high-value pieces including fine china, antique serving platters, and irreplaceable family pieces. Bubble wrap is not necessary for every dish but is essential for items whose breakage would cause genuine loss.
Corrugated cardboard dividers — pre-cut cardboard inserts that create separation between stacked items, providing rigid protection that packing paper alone cannot deliver for the heaviest pieces.
Packing tape — high-quality packing tape applied in an H-pattern across all box seams provides structural integrity that keeps boxes from opening during handling and stacking.
Markers — thick permanent markers for clear FRAGILE labeling on all box surfaces.
| Packing Material | Primary Use | Quantity Needed (Average Kitchen) | Key Advantage |
|---|---|---|---|
| Packing paper (unprinted) | Individual dish wrapping | 10–15 lbs bundle | Ink-free, flexible, affordable |
| Dish barrel boxes | Heavy dish and kitchenware | 4–8 boxes | Double-wall impact absorption |
| Bubble wrap | Fine china, antiques, high-value pieces | 1 roll (12″ x 175′) | Superior shock absorption |
| Corrugated cardboard dividers | Separation between heavy items | 1–2 packs | Rigid protection, prevents nesting |
| Packing tape | Box sealing and reinforcement | 2–3 rolls | Structural integrity during handling |
| Thick permanent markers | FRAGILE labeling | 2–3 markers | Visible from distance, durable ink |
The Vertical Packing Method: Why Plates Must Never Be Packed Flat
The single most important technique for learning how to pack dishes for moving is the vertical packing method — and it contradicts the intuition of almost every first-time mover who has never been taught otherwise.
Plates should always be packed vertically on edge, like records in a crate — never stacked flat on their faces.
This principle surprises most people, but the physics are straightforward. A plate is structurally designed to support weight distributed around its rim — that is how it sits on a table, on a shelf, and in a dishwasher rack. A plate is not designed to support compressive weight across its face. When you stack plates flat with other plates on top, the bottom plates bear the cumulative weight of everything above them across a surface that was never engineered for that load. The result is stress fractures, chips at the rim, and outright breakage that occurs before the box even leaves your kitchen.
When plates are packed vertically on edge, the corrugated walls of the dish barrel box — not the ceramic face of other plates — bear the downward force. The rim of each plate, which is its strongest structural element, carries its own weight in the orientation it was designed for.
The correct vertical packing sequence:
- Cushion the box bottom with 3–4 inches of crumpled packing paper before any dish enters the box
- Wrap each plate individually in 2–3 sheets of packing paper using the diagonal roll technique
- Stand wrapped plates on edge along one wall of the box, leaning them gently against the corrugated wall
- Insert crumpled paper between each plate to prevent any contact between wrapped items
- Continue adding plates vertically until the row is complete, then add a cardboard divider and begin a second row if needed
- Fill all remaining void space with crumpled packing paper until contents cannot shift when the box is gently shaken
- Apply additional cushioning on top before sealing the box
For a complete breakdown of the wrapping technique, the guide on how to pack fragile items covers the diagonal roll method in detail alongside techniques for other breakable categories.
How to Pack Different Types of Dishes: A Category-by-Category Breakdown
Different dish types present different packing challenges. The plate technique described above is foundational, but bowls, serving pieces, and specialty items each require specific handling approaches.
Dinner Plates and Salad Plates
Wrap each plate individually in 2–3 sheets of packing paper. Place the plate near one corner of the paper stack at a 45-degree angle, then roll diagonally while folding in the excess from the sides. The final flap tucks under the rolled plate and can be secured with a small piece of tape for stability. Pack vertically on edge in a dish barrel box with paper cushioning between each wrapped plate.
Bowls and Cereal Bowls
Bowls are slightly more complex because of their depth. Before wrapping the exterior, stuff the interior of each bowl with crumpled packing paper — this prevents the bowl from collapsing inward under lateral pressure during transit. Then wrap the exterior using the same diagonal roll technique as plates. Pack bowls vertically on edge or nest them carefully with paper cushioning between each bowl if vertical packing is not practical for bowl size.
Serving Platters and Large Plates
Large serving platters are among the most vulnerable items in any kitchen because their size makes them awkward to handle and their thinness at the center makes them prone to stress fractures. Wrap each platter in 3–4 sheets of packing paper, then add a layer of bubble wrap for additional protection. Pack vertically on edge in a dish barrel box with generous cushioning. Consider double-boxing particularly valuable or irreplaceable platters using the technique described in the how to pack fragile items guide.
Fine China and Antique Dishes
Fine china deserves the full protection protocol regardless of monetary value. Wrap each piece in packing paper first — filling any hollow interior with crumpled paper — then apply a complete outer layer of bubble wrap, bubbles facing inward against the wrapped piece. Pack vertically on edge in a dish barrel box with at least 3 inches of cushioning on all six sides. For antique pieces or family heirlooms being moved long distance to cities like Vancouver or Calgary, the double-boxing method provides the highest protection available in standard residential packing.
Everyday Ceramic Mugs
Mugs are deceptively fragile because their handles create a vulnerability that plates and bowls do not have. Wrap the handle separately first using a strip of packing paper rolled around it, then wrap the body of the mug using the standard diagonal roll technique. Pack mugs upright in the box with handles all facing the same direction. Never pack mugs with handles pointing outward toward box walls where impact during handling could snap them.
Cushioning the Bottom of Boxes: The Step Most People Skip
The bottom cushioning layer is the most frequently skipped step when packing dishes — and it is one of the most consequential. When a packed box is set down, the bottom absorbs the impact. When boxes are stacked during loading, the bottom boxes bear the cumulative weight of everything above them. Without adequate cushioning between the box floor and the first dish, every impact and every pound of stacking weight transfers directly to your ceramics.
The correct bottom cushioning approach:
- Lay a layer of packing paper across the box floor to create a clean surface
- Add 3–4 inches of crumpled packing paper on top of the flat layer — crumpled paper absorbs impact better than flat paper
- Do not compress the crumpled layer — the air pockets within the crumpled paper are what provide shock absorption; pressing them flat defeats the purpose
- Test the cushion depth by pressing down with your palm — you should feel significant compression before your hand approaches the box floor
The same principle applies to the top of the box. After the final dish is positioned, add another 2–3 inches of crumpled packing paper before sealing. When the box is closed, the top should not compress more than half an inch when pressed firmly. A box that compresses significantly when sealed has insufficient fill and will allow internal shifting during transit.
Corrugated Cardboard Dividers: When and How to Use Them
Corrugated cardboard dividers provide rigid separation between dishes that packing paper alone cannot deliver for the heaviest or most valuable items. While not necessary for every plate in your kitchen, dividers are worth using in specific circumstances:
- Between rows of vertically packed plates in a dish barrel box — the divider creates a physical barrier that prevents the weight of one row from pressing against another
- Between stacked serving pieces when bowls or platters must be nested rather than packed vertically due to size constraints
- Between fine china pieces where the additional protection justifies the additional packing time
- On top of completed dish layers before adding a second layer to a deep dish barrel box
Corrugated dividers can be cut to size from cardboard sheets or purchased pre-cut in standard box dimensions. The flutes (the wavy inner layer of corrugated cardboard) should run vertically when the divider is positioned — this orientation provides maximum compression resistance for downward force.
How to Pack Dishes for Moving in a Dish Barrel Box: Complete Sequence
Bringing together all the techniques covered above, this is the complete step-by-step sequence for packing a dish barrel box correctly:
Step 1: Prepare the box Tape the bottom of the dish barrel box using an H-pattern — one strip along the center seam and one strip across each edge seam. This prevents the bottom from opening under the weight of ceramic contents.
Step 2: Create the cushion base Lay a flat sheet of packing paper across the box floor, then add 3–4 inches of loosely crumpled packing paper on top. Do not compress.
Step 3: Wrap each dish individually Using the diagonal roll technique with 2–3 sheets of packing paper per plate, wrap every dish before it enters the box. Stuff bowl interiors with crumpled paper before wrapping exteriors.
Step 4: Position dishes vertically Stand wrapped plates on edge along one wall of the box, inserting crumpled paper between each plate to prevent contact. Continue until the first row is complete.
Step 5: Add dividers between rows Insert a corrugated cardboard divider between rows, then begin the next row of vertically packed plates.
Step 6: Fill all void space After all dishes are positioned, fill every remaining gap with crumpled packing paper. The box should feel solid and immovable when complete.
Step 7: Add top cushioning Layer 2–3 inches of crumpled packing paper on top of the dish layer before closing the box.
Step 8: Seal and label Close the box and tape using an H-pattern across the top seams. Label FRAGILE and THIS SIDE UP on all four vertical sides and across the top.
| Dish Type | Wrapping Method | Packing Orientation | Special Considerations |
|---|---|---|---|
| Dinner plates and salad plates | 2–3 sheets packing paper, diagonal roll | Vertical on edge | Never stack flat — use vertical method only |
| Bowls and cereal bowls | Interior stuffed, exterior wrapped | Vertical on edge or nested with dividers | Stuff interior before wrapping exterior |
| Serving platters | 3–4 sheets paper + bubble wrap for value items | Vertical on edge | Double-box irreplaceable pieces |
| Fine china | Paper wrap + full bubble wrap layer | Vertical on edge | 3+ inches cushioning on all six sides |
| Mugs with handles | Handle wrapped separately, then body wrapped | Upright, handles same direction | Never position handles toward box walls |
| Glass plates and glass bowls | Paper wrap + bubble wrap, individual cell protection | Vertical on edge | See glassware packing guide for full details |
For glass dishes specifically, the how to pack glassware guide provides detailed techniques for the unique challenges that glass presents compared to ceramic.
Labeling Fragile Kitchen Items: The Details That Prevent Last-Minute Damage
Even perfectly packed boxes can sustain damage if handlers at either end of the move do not know how to treat them. Proper labeling ensures that anyone touching your dish boxes — whether your own crew on moving day or professional movers — knows exactly what level of care the contents require.
Every dish box should be labeled on all four vertical sides and the top, not just one face. Labels should include:
- FRAGILE in large, bold letters visible from several feet away
- THIS SIDE UP with a directional arrow on all four vertical sides
- KITCHEN — DISHES to identify contents for efficient room-by-room placement during unloading
- DO NOT STACK if the box contains particularly delicate items that cannot bear weight from above
Use a thick permanent marker with high-contrast ink. Pre-printed adhesive fragile labels are a useful supplement but should not replace handwritten notation, which is more durable and less likely to peel during transit.
For moves being coordinated with professional assistance, Metropolitan Movers Ottawa provides packing and unpacking services that include proper labeling as part of the standard protocol — ensuring your dish boxes receive the same professional handling during loading, transport, and placement at your new home.
Common Dish Packing Mistakes and How to Avoid Every One
| Common Mistake | Why It Causes Breakage | The Correct Approach |
|---|---|---|
| Stacking plates flat horizontally | Concentrates compressive weight on bottom plates | Always pack plates vertically on edge |
| Using newspaper instead of packing paper | Ink transfers permanently to ceramic surfaces | Use unprinted packing paper exclusively |
| Skipping interior stuffing on bowls | Hollow interior collapses under lateral pressure | Stuff bowl interiors before wrapping exterior |
| Leaving void space in boxes | Contents shift and collide during transit | Fill every gap until contents are immovable |
| Using standard boxes instead of dish barrels | Single-wall construction fails under dish weight | Use double-walled dish barrel boxes for all dishes |
| Overpacking boxes beyond safe weight | Heavy boxes fail during lifting and stacking | Keep dish boxes under 40–50 lbs maximum |
| Labeling only one side of the box | Handlers approach from unlabeled sides | Label FRAGILE on all four sides and top |
| Insufficient bottom cushioning | Impact transfers directly to bottom dishes | 3–4 inches crumpled paper below first dish |
Packing Dishes for Long-Distance Moves: Additional Precautions
A local move within Ottawa, Kanata, or Orleans is relatively forgiving — transit time is short and road conditions are predictable. A long-distance move to Montreal, Halifax, Edmonton, or Winnipeg introduces extended transit time, multiple handling points, and a wider range of road and weather conditions that place additional stress on every packed box.
For long-distance dish moves, the following additional precautions are strongly recommended:
- Apply the double-boxing method to fine china and irreplaceable pieces — the inner box provides the standard protection, while the outer box with additional cushioning absorbs impacts that would otherwise reach your dishes
- Use bubble wrap as standard rather than only for premium pieces — the marginal cost is offset by the dramatically reduced breakage risk over extended transit
- Add foam padding sheets between the box walls and the outermost layer of wrapped dishes for additional cushioning depth
- Photograph dishes before packing and retain images alongside your moving cost documentation for insurance reference if damage occurs
- Discuss declared value coverage with your moving company before moving day — standard released-value coverage is weight-based and wholly inadequate for fine china or antique dinnerware
The long-distance moving guide provides comprehensive preparation advice for moves where transit time and handling complexity require additional planning beyond what local moves demand.
When Professional Packing Makes More Sense Than DIY
Learning how to pack dishes for moving is valuable knowledge — but there is a meaningful difference between knowing the correct technique and having the time, materials, and consistent attention to apply it correctly across an entire kitchen while simultaneously managing every other aspect of a household move.
Professional packing and unpacking services from Metropolitan Movers Ottawa are worth serious consideration when:
- Your kitchen contains significant fine china or antique pieces whose replacement cost or sentimental value exceeds what any insurance settlement could address
- You are managing a time-compressed move where the days available for packing do not allow for the careful, methodical approach that dish packing requires
- You are completing a senior move where the physical demands of wrapping and boxing are a concern
- Your move is long-distance and you want the additional liability coverage that comes with professionally packed boxes — coverage that typically does not extend to owner-packed items
- Your schedule simply does not accommodate the 4–8 hours that properly packing an average kitchen’s worth of dishes requires when done correctly
Metropolitan Movers Ottawa brings over 15 years of experience and uses professional-grade materials and techniques on every job — the same standards described throughout this guide, applied by trained hands who pack dishes correctly every single time. The complete packing guide for moving provides the full framework for understanding what professional packing delivers across every category of household item.
Frequently Asked Questions
Should plates be packed flat or on edge when moving?
Plates should always be packed vertically on edge — never stacked flat. Flat stacking concentrates compressive weight on the bottom plates, causing stress fractures and breakage. Vertical packing allows each plate’s rim, which is its strongest structural element, to carry its own weight in the orientation it was designed for.
What is the best box for packing dishes?
Dish barrel boxes — double-walled corrugated cartons specifically designed for heavy, fragile kitchenware — provide significantly better protection than standard single-wall moving boxes. The additional wall thickness absorbs impact during handling and provides structural integrity under the weight that a box full of ceramic dishes creates.
How much packing paper do I need for dishes?
An average kitchen requires approximately 10–15 pounds of packing paper for dishes alone. Each plate requires 2–3 sheets, bowls require additional paper for interior stuffing, and void space fill throughout the boxes consumes significant volume. It is always better to overestimate and return unused paper than to run short mid-pack and compromise protection quality.
Do I need bubble wrap to pack dishes?
Bubble wrap is not essential for everyday dishes when proper packing paper technique and vertical positioning are used. However, bubble wrap is strongly recommended for fine china, antique pieces, family heirlooms, and any long-distance move where extended transit time increases vibration exposure. The modest additional cost is worthwhile insurance for pieces whose loss would cause genuine regret.
Does Metropolitan Movers Ottawa provide professional dish packing services?
Yes. Metropolitan Movers Ottawa provides comprehensive packing and unpacking services for kitchens and entire households. The team uses professional-grade materials and techniques that meet industry standards for dish protection, including proper dish barrel boxes, vertical packing methods, and appropriate labeling for fragile contents. With over 15 years of experience, the team handles everything from everyday kitchenware to fine china with the care each category requires.
Every Dish You Pack Today Is Either Protected or at Risk
Learning how to pack dishes for moving is one of the most practical investments of time any household can make before moving day arrives. The vertical packing method, the importance of dish barrel boxes, the bottom cushioning that most people skip, the labeling that ensures proper handling — each technique described in this guide exists because it prevents specific, predictable failures that damage dishes in moves every day. Whether you are packing your own kitchen using the methods outlined here or choosing professional packing services to ensure the job is done to the highest standard, the outcome you deserve is the same: opening boxes at your new home and finding every plate, every bowl, and every family heirloom exactly as you left them. Metropolitan Movers Ottawa brings 15+ years of experience to every move — from local relocations within Ottawa and Nepean to long-distance moves across Canada. When you are ready, reach out today and move forward knowing every dish in your kitchen is in the right hands.